


How to Fix Banding on Large Format Prints: A Complete Troubleshooting Guide
One of the most prevalent quality problems in big format printing is banding, which are those annoying vertical or horizontal lines that show up in your prints. Banding can detract from an otherwise flawless print project, whether you're creating banners, car wraps, trade fair posters, or architectural drawings. Everything you need to know about spotting, resolving, and avoiding banding problems in your big format prints will be covered in this thorough book.
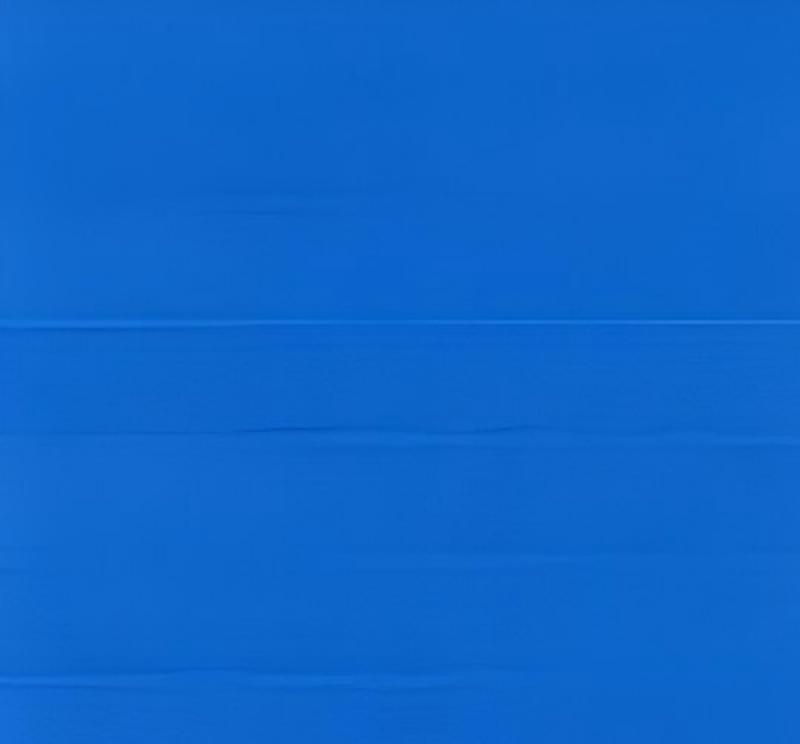
Visible lines or streaks that show up in printed output and usually run either vertically or horizontally across the print are referred to as banding. These lines show regions of the media where ink has not been applied correctly, resulting in pronounced differences in colour density.
Banding Types
Lines parallel to the printhead movement are known as horizontal banding.
Vertical banding: Lines that are perpendicular to the movement of the printhead
Random Banding: Unpredictable patterns of irregular stripes
The Impact of Banding on Print Quality
lessens detail and sharpness.
produces asymmetrical colour changes.
causes slopes to look stepped rather than smooth.
makes prints seem less than professional.
Some prints may become unusable for client work.
Printers that are not frequently used
Low-humidity environments
Some types of ink that dry more quickly
Not aligned Printheads: A little misalignment can result in:
Intervals between printhead runs
Darker lines are produced by overlapping.
seams that are visible in the printed output
Exhausted Printheads: Earlier printheads could:
behave inconsistently as a nozzle
Create anomalies in firing
Display poor ink droplet control
Poor performance of the nozzle
Clogging problems
Uneven drying properties
The wrong ink Viscosity causes issues with droplet formation.
Unreliable dot positioning
Ink laydown is poor.
Expired ink could: Change in chemical composition
Hold particles that clog nozzles in check.
Not meeting the requirements
Inadequate absorption of ink
Pooling or beading
Inequitable dot gain
Poor media frequently has:
Surface treatments that are inconsistent
Differential porosity
Inadequate coatings
Inappropriate media handling, such as surface dust or debris
Oils or fingerprints
Problems with static electricity
Strips that are not correctly tensioned
Problems with strip alignment
Problems with the Carriage Mechanism: Damaged bushings or bearings
Belts that are loose
Unaligned rails
Issues with Media Advancement:
Pinch rollers that are worn
Feed mechanisms that slip
Unreliable media movement
5. Environmental Elements
Variations in temperature have an impact on ink viscosity.
Dimensions of the media
Tolerances in mechanics
Impact of Humidity Variations: Ink drying times
Moisture content of media
accumulation of static electricity
Printhead clogging can be caused by dust and contaminants.
interfere with the mechanical components
Media surfaces that are contaminated
To find clogged nozzles, use the printer's integrated nozzle check.
Go through the printer's settings and run a printhead cleaning cycle.
For difficult clogs, manually wipe the printhead with a lint-free cloth and cleaning solution.
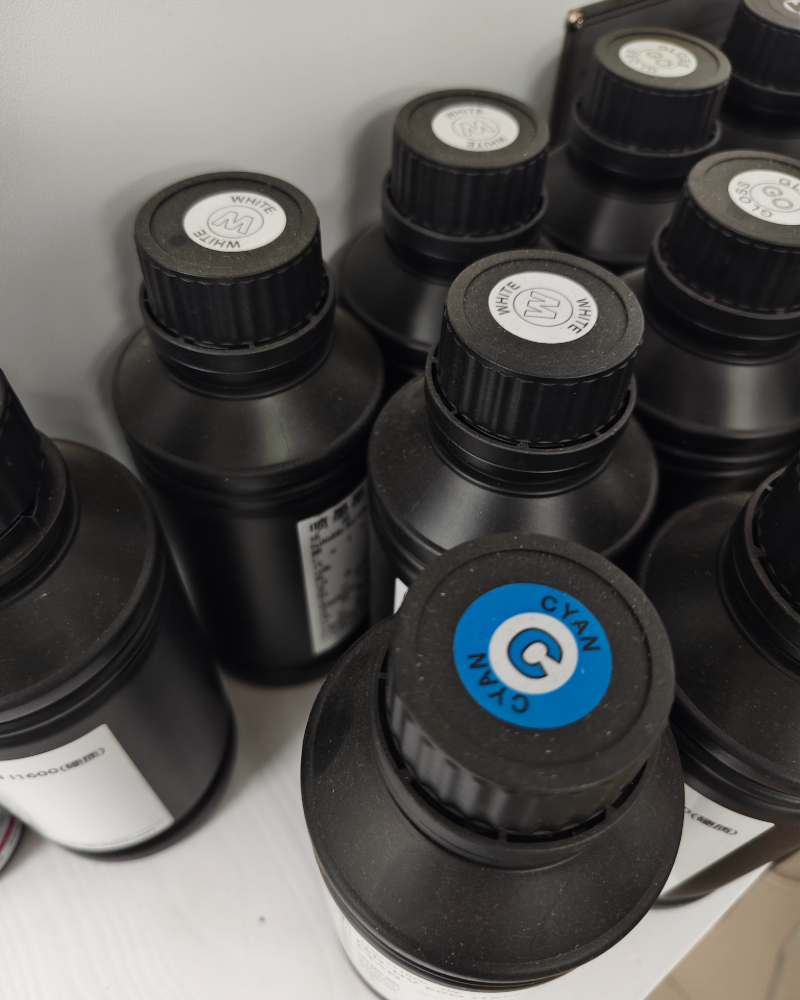
2. Make Use of Superior Ink and Media
Always use the ink that the manufacturer recommends because inks from other companies could not dry well.
Select premium media made for the model of your printer.
To avoid drying out, keep medium and ink in a temperature-controlled environment.
3. Modify the Print Preferences
Use "High Quality" or "Fine" mode rather than "Draft" to increase the print resolution.
Reduce banding by turning off "High-Speed" printing.
In the printer's options, choose the appropriate media type (such as "Glossy Paper" or "Vinyl").
4. Adjust and Adjust Printheads
Use the printer's settings to activate the automatic printhead alignment function.
Perform manual calibration (follow the instructions in your printer handbook) if problems continue.
5. Examine the printer's mechanics
Check for wear and tear on motors, belts and rollers.
To prevent movement mistakes, make sure the printer is on a level, sturdy surface.
If necessary, lubricate moving parts (see the manufacturer's instructions).
✅ Use Original Ink: Steer clear of inexpensive alternatives that clog nozzles.
✅ Properly Store Media: Store rolls in desiccants in sealed bags.
✅ Arrange for Professional Servicing: Printer life is increased by yearly maintenance.
Are You Still Seeing Banding? Seek Expert Assistance!
After troubleshooting, if banding still occurs, your printer might require expert repair or part replacement.
Hstar specialises in big format printing solutions, including high-quality prints and equipment maintenance.
For professional assistance, contact us right now!
Section 1: What is banding exactly?
Using Printing Terms to Define BandingVisible lines or streaks that show up in printed output and usually run either vertically or horizontally across the print are referred to as banding. These lines show regions of the media where ink has not been applied correctly, resulting in pronounced differences in colour density.
Banding Types
Lines parallel to the printhead movement are known as horizontal banding.
Vertical banding: Lines that are perpendicular to the movement of the printhead
Random Banding: Unpredictable patterns of irregular stripes
The Impact of Banding on Print Quality
lessens detail and sharpness.
produces asymmetrical colour changes.
causes slopes to look stepped rather than smooth.
makes prints seem less than professional.
Some prints may become unusable for client work.
Section 2: The Fundamental Reasons for Banding
The first step in preventing banding is to understand what causes it. Here is a detailed list of the main offenders:1. Problems with the printhead (most frequent cause)
Clogged Nozzles: Proper ink flow is blocked when ink dries in the nozzles. This is particularly prevalent with:Printers that are not frequently used
Low-humidity environments
Some types of ink that dry more quickly
Not aligned Printheads: A little misalignment can result in:
Intervals between printhead runs
Darker lines are produced by overlapping.
seams that are visible in the printed output
Exhausted Printheads: Earlier printheads could:
behave inconsistently as a nozzle
Create anomalies in firing
Display poor ink droplet control
2. Issues Concerning Ink
Poor ink quality can result in:Poor performance of the nozzle
Clogging problems
Uneven drying properties
The wrong ink Viscosity causes issues with droplet formation.
Unreliable dot positioning
Ink laydown is poor.
Expired ink could: Change in chemical composition
Hold particles that clog nozzles in check.
Not meeting the requirements
3. Issues with the Media
Media incompatibilities may result in:Inadequate absorption of ink
Pooling or beading
Inequitable dot gain
Poor media frequently has:
Surface treatments that are inconsistent
Differential porosity
Inadequate coatings
Inappropriate media handling, such as surface dust or debris
Oils or fingerprints
Problems with static electricity
4. Mechanical Problems
Issues with Encoder Strips: Unclean or broken encoder stripsStrips that are not correctly tensioned
Problems with strip alignment
Problems with the Carriage Mechanism: Damaged bushings or bearings
Belts that are loose
Unaligned rails
Issues with Media Advancement:
Pinch rollers that are worn
Feed mechanisms that slip
Unreliable media movement
5. Environmental Elements
Variations in temperature have an impact on ink viscosity.
Dimensions of the media
Tolerances in mechanics
Impact of Humidity Variations: Ink drying times
Moisture content of media
accumulation of static electricity
Printhead clogging can be caused by dust and contaminants.
interfere with the mechanical components
Media surfaces that are contaminated
How to Correct Banding: Detailed Instructions
1. Make the printheads clean.To find clogged nozzles, use the printer's integrated nozzle check.
Go through the printer's settings and run a printhead cleaning cycle.
For difficult clogs, manually wipe the printhead with a lint-free cloth and cleaning solution.
2. Make Use of Superior Ink and Media
Always use the ink that the manufacturer recommends because inks from other companies could not dry well.
Select premium media made for the model of your printer.
To avoid drying out, keep medium and ink in a temperature-controlled environment.
3. Modify the Print Preferences
Use "High Quality" or "Fine" mode rather than "Draft" to increase the print resolution.
Reduce banding by turning off "High-Speed" printing.
In the printer's options, choose the appropriate media type (such as "Glossy Paper" or "Vinyl").
4. Adjust and Adjust Printheads
Use the printer's settings to activate the automatic printhead alignment function.
Perform manual calibration (follow the instructions in your printer handbook) if problems continue.
5. Examine the printer's mechanics
Check for wear and tear on motors, belts and rollers.
To prevent movement mistakes, make sure the printer is on a level, sturdy surface.
If necessary, lubricate moving parts (see the manufacturer's instructions).
Tips for Preventive Maintenance to Prevent Banding
✅ Print Often: Weekly printer runs keep ink from drying out.✅ Use Original Ink: Steer clear of inexpensive alternatives that clog nozzles.
✅ Properly Store Media: Store rolls in desiccants in sealed bags.
✅ Arrange for Professional Servicing: Printer life is increased by yearly maintenance.
Are You Still Seeing Banding? Seek Expert Assistance!
After troubleshooting, if banding still occurs, your printer might require expert repair or part replacement.
Hstar specialises in big format printing solutions, including high-quality prints and equipment maintenance.
For professional assistance, contact us right now!
RECENT POSTS
-
How to Fix Banding on Large Format Prints: A Complete Troubleshooting Guide
-
What Is The Difference Between Standard Print And Large Print?
-
How to Calibrate Industrial Printer Color Accuracy?
-
What Is The Difference Between Industrial And Consumer 3d Printers?
-
ما هما النوعان الرئيسيان للطابعات ثلاثية الأبعاد؟
Application
-
 Application scenarios of UV DTF printersUV DTF printer is our NEW machine, which is loved by many consumers.crystal stickers are widely used.
Crystal stickers can also be used as decorations to make your gift more beautiful and special. -
 UV DTF printer for Gold silver stickersGold and silver stickers that many customers like, let's see how it is made.
More Application


