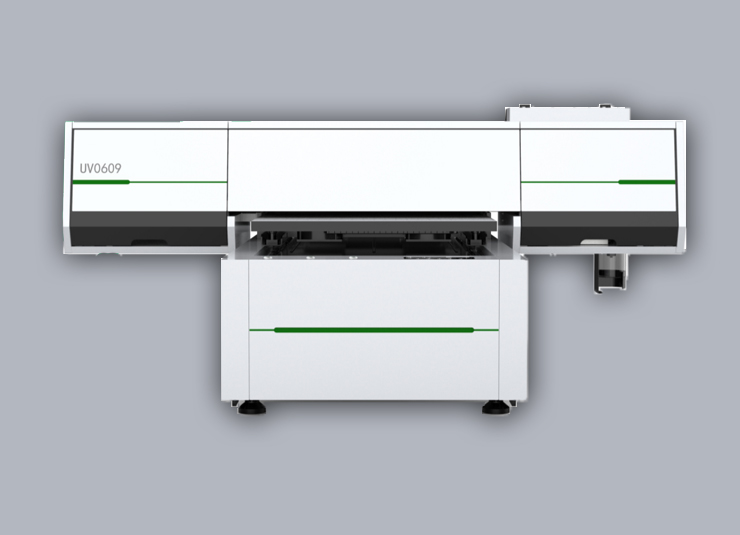
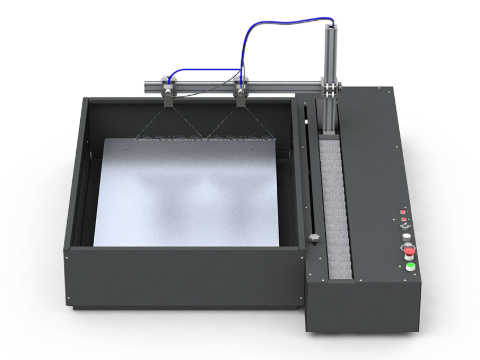
How to Operate a UV Printer: A Comprehensive Guide
How to Operate a UV Printer: A Comprehensive Guide
Operating a UV printer requires adherence to a specific process to ensure print quality and the safe operation of the equipment. Below is a typical workflow for UV printer operations:
Preparation Work
1. Confirm Printing Materials
Check Material Type: Ensure that the materials used are suitable for UV printing and have been pre-treated as needed (such as cleaning, priming, etc.).
Material Dimensions: Ensure that the material dimensions match the printer's print area.
Inspect Equipment: Inspect UV lamps and print heads to make sure they are in good working condition, without damage or blockages.
Ink Preparation: Check ink levels to see if they need to be replaced or replenished.
Calibrate Printer: Calibrate the print head according to the printer manual to ensure print accuracy.
Height Adjustment: Adjust the height between the print head and the printing material to prevent scratches or uneven inkjet printing.
Design and Settings
1. Design File Preparation
Design Image: Use graphic software (such as Adobe Photoshop, Illustrator) to design the patterns or text to be printed.
File Format: Save the file in a format supported by the printer (such as JPEG, PNG, PDF).
2. Printing Software Settings
Import File: Import the design file into the software that comes with the UV printer.
Print Parameter Settings: Set print parameters based on the material type and printing requirements (such as resolution, color mode, print speed, etc.).
Layout Adjustment: Adjust the position and size of the pattern in the software to ensure accuracy when printing on the material.
Printing Process
1. Material Fixation
Fix the printing material on the printer's work platform to ensure it is flat and secure, preventing movement during the printing process.
2. Printer Startup
Turn on the printer's power and start the printer operating system.
If the printer requires preheating of UV lamps or other components, wait for the preheating to be completed.
3. Printing Operation
Start Printing: Click the "Start Printing" button in the print software, and the printer will automatically execute the printing task.
Monitor Printing: Monitor the printing process in real-time to ensure it goes smoothly. If problems are found (such as print head blockages, ink shortage), pause printing and address the issues promptly.
Post-Processing
1. Print Quality Check
After printing is complete, check the print quality to confirm that the colors, patterns, and details meet the requirements.
2. Clean Print Head
Clean the print head as needed to maintain its cleanliness and unobstructed.
3. Curing and Processing
Curing Check: Ensure that the UV ink is fully cured. If there are uncured parts, supplement curing with UV lamps.
Conduct necessary post-processing (such as laminating, cutting, assembling, etc.) based on the material and application requirements.
Routine Maintenance
1. Cleaning and Maintenance
Clean the printer regularly, both internally and externally, to keep the equipment clean and prevent dust and impurities from entering.
2. Maintain UV Lamps
Regularly inspect and maintain UV lamps to ensure their normal operation and lifespan.
3. Software Updates
Check for printer software and firmware updates regularly to keep the device's software up-to-date, enhancing print performance and stability.
By following this operational process, you can ensure the normal operation and high-quality output of the UV printer. Additionally, operators need to be familiar with the equipment's user manual and safety specifications to ensure the safety and efficiency of the printing process.
RECENT POSTS
Application
-
 Vango DTF printerOur DTF printer adopts an all-in-one printing design, which is more space-saving and easier to operate.This is our printing show.
Wide applications,design for textile printing,Suitable for all kinds of fabrics, T-shirts,leather, bags and shoes etc. -
 UV DTF Printer Client FeedbackA customer from Austria placed an order for our UV DTF printer after many inspections. This is their feedback after using it.
More Application


