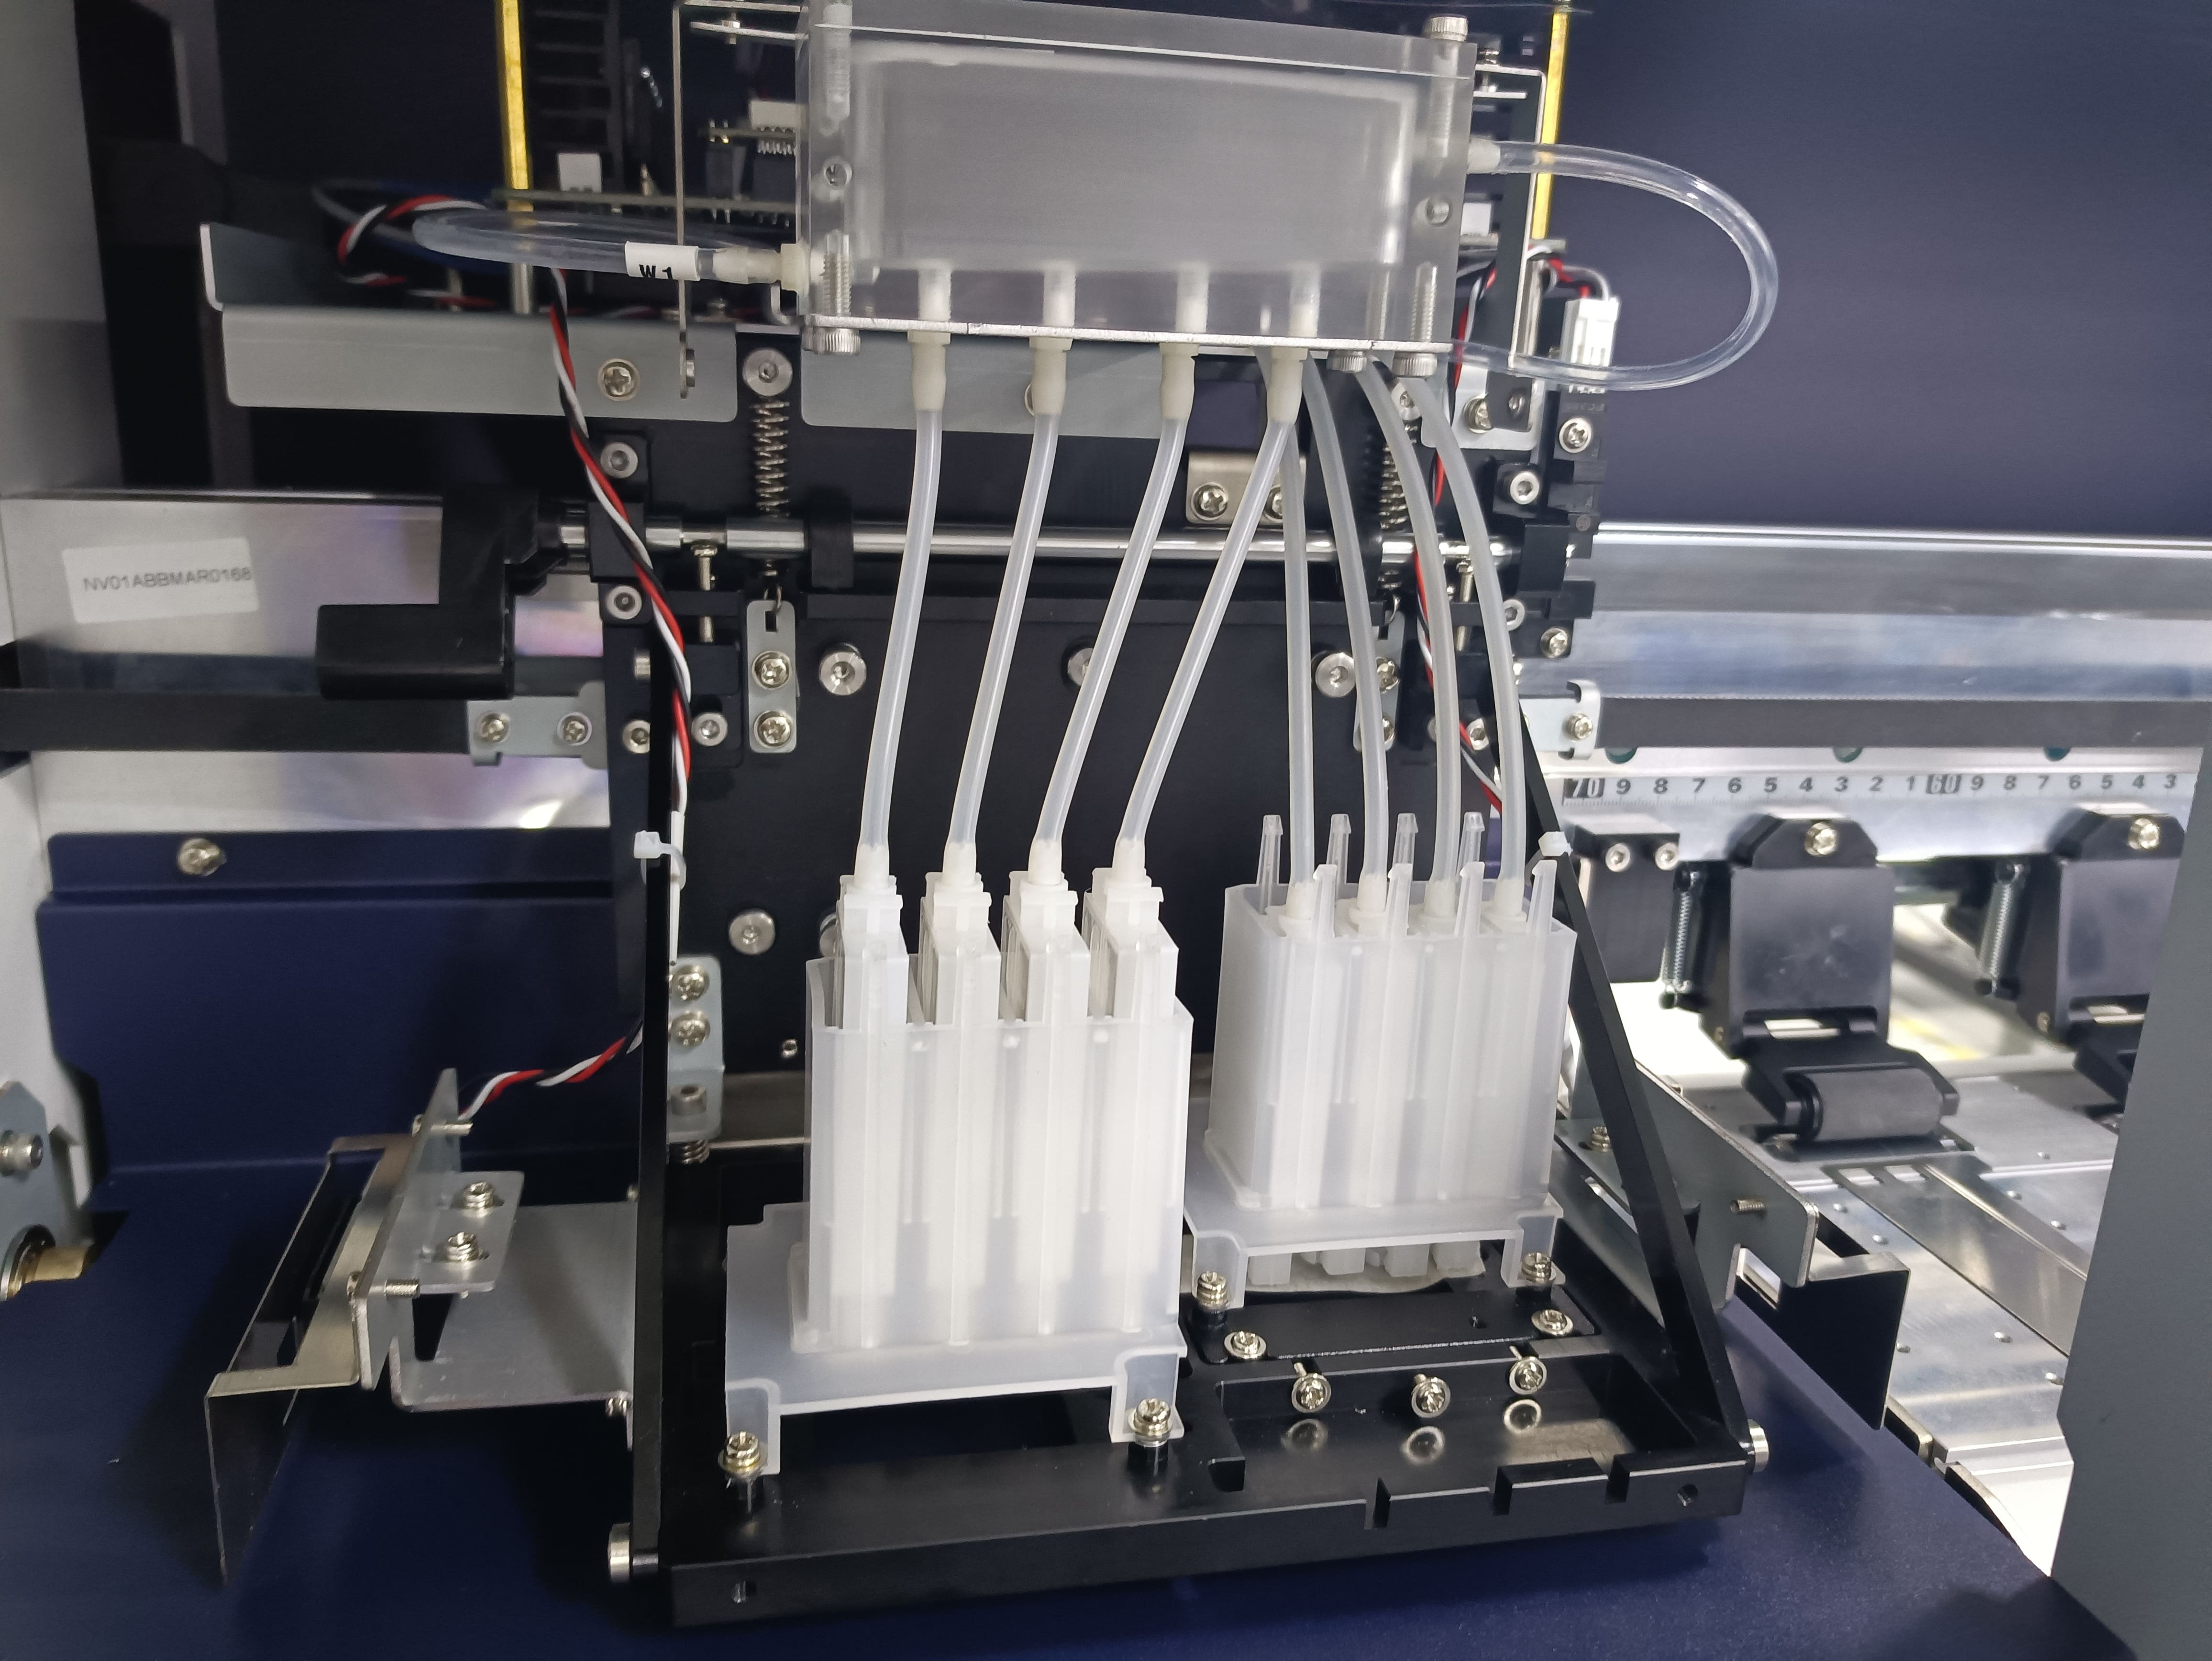
How to Correctly Add Ink to DTF Printers
How to Correctly Add Ink to DTF Printers
Why Correct Ink Addition Matters:
Improper ink addition can lead to reduced print quality, clogged print heads, or even printer damage. Here are some key steps and tips to ensure the correct addition of ink to DTF printers.
Step 1: Choose the Right Ink
Select high-quality ink compatible with your DTF printer. Using original ink ensures the best printing results and device performance.
Step 2: Prepare Tools and Materials
Before you begin, ensure you have the necessary tools such as a funnel, ink containers, and a clean cloth.
Step 3: Turn Off the Printer and Unplug
Ensure the printer is turned off and unplugged before adding ink to ensure safe operation.
Step 4: Identify the Ink Containers
Correctly identify the container locations for each color of ink in the printer to avoid confusion.
Step 5: Use a Funnel to Add Ink
Slowly pour the ink into the corresponding ink containers using a funnel to avoid spills and splashes.
Step 6: Check Ink Flow
After adding the ink, perform a test print to ensure the ink flows properly without any blockages.
Maintenance and Cleaning:
Regularly clean the print head and ink system to prevent clogs and maintain print quality.
Common Issues and Solutions:
Ink Smudging: Adjust heat and pressure settings to ensure the ink is fully cured.
Print Head Clogging: Regularly conduct nozzle tests, and if the print mesh is ineffective, clean the print head.
Conclusion:
Correctly adding ink to DTF printers is key to ensuring print quality and device performance. By following the steps and tips above, users can maximize the printer's performance, extend the equipment's service life, and improve print quality.
Note: Regular maintenance and correct ink addition are crucial for the long-term stable operation of DTF printers.

RECENT POSTS
Application
-
 Hstar printer in Turkey ExhibitionIn September, our company participated in the Turkish advertising exhibition. At the exhibition, many people are interested in our machine.
 -
 UV DTF Printer Client FeedbackA customer from Austria placed an order for our UV DTF printer after many inspections. This is their feedback after using it.
More Application


